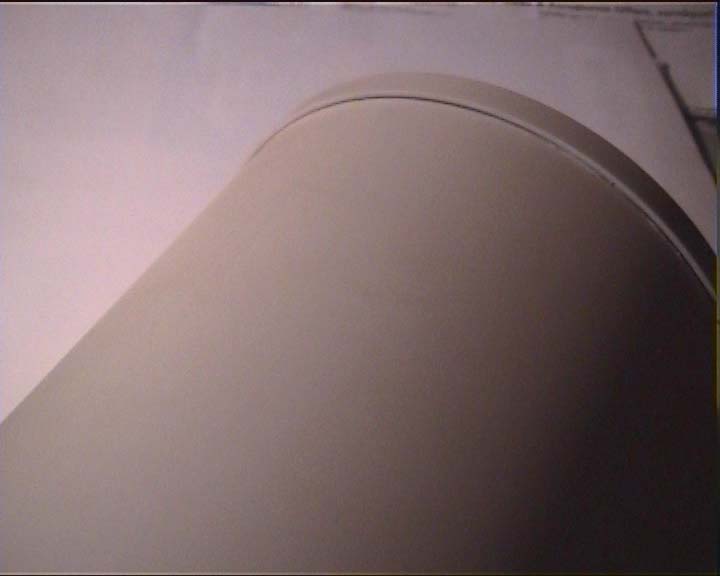

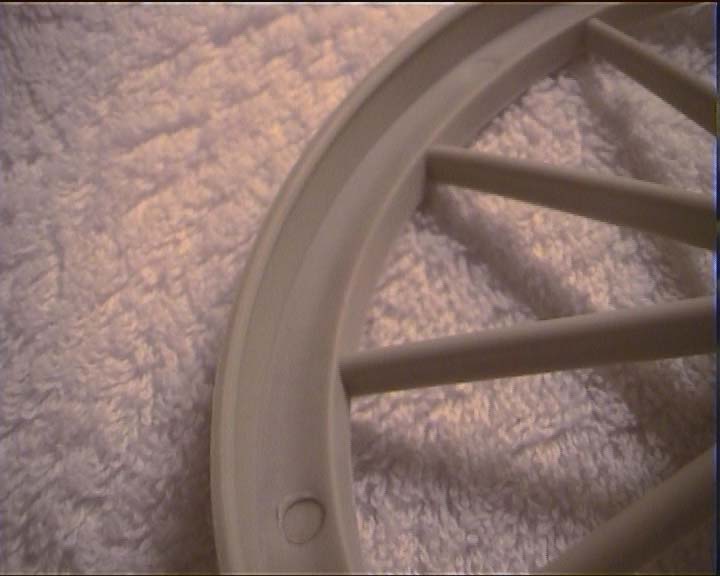
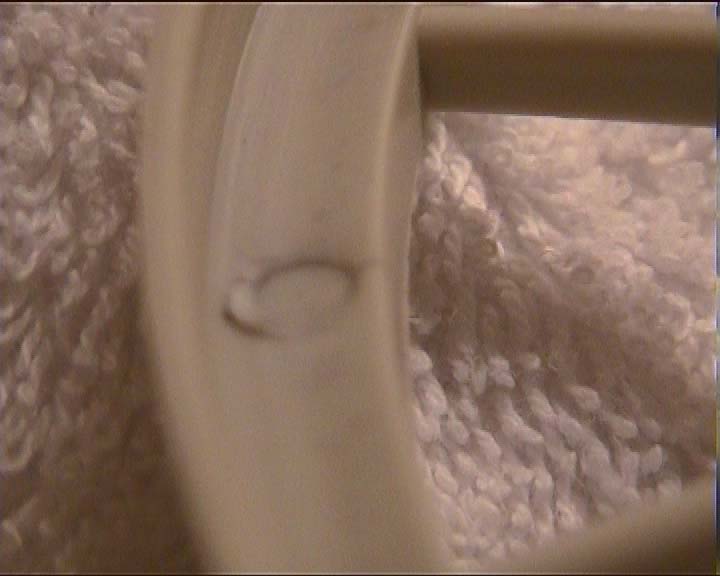
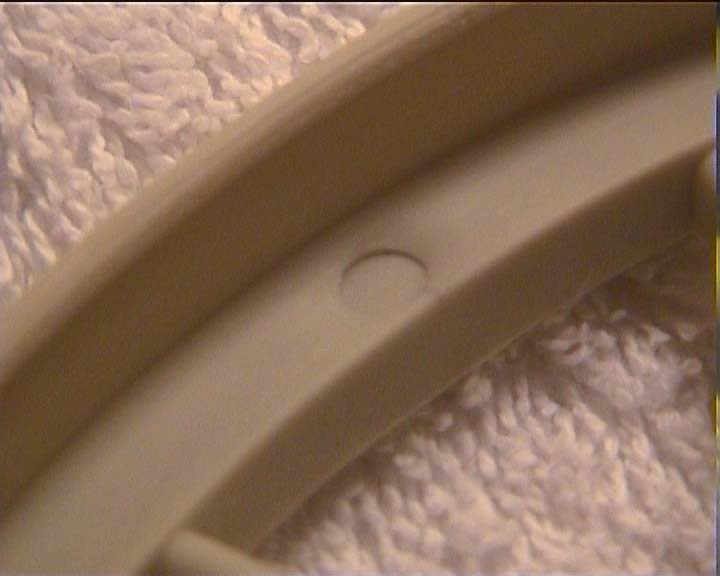
Please note the shade under the lids lip. That would indicate a less sealing.
If you have a crack at the edge of the scrubber lid, the glue holding the crubber lid to the scrubber tube is likely starting to crack up.
This is a potentially very dangerous flaw since it will allow exhale gas to bypass the scrubber leading at end to hypercapnia.
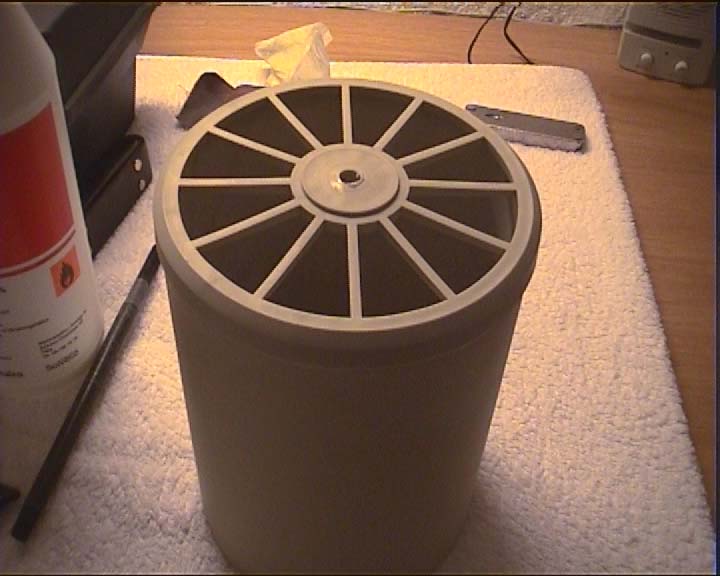
Pictures
Why does it crack and so what ?
How to fix it
Please note the shade under the lids lip. That would indicate a less sealing.
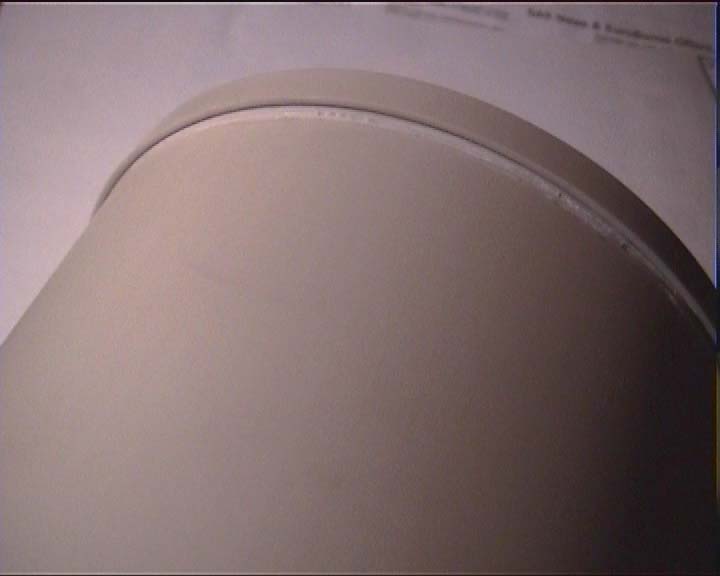
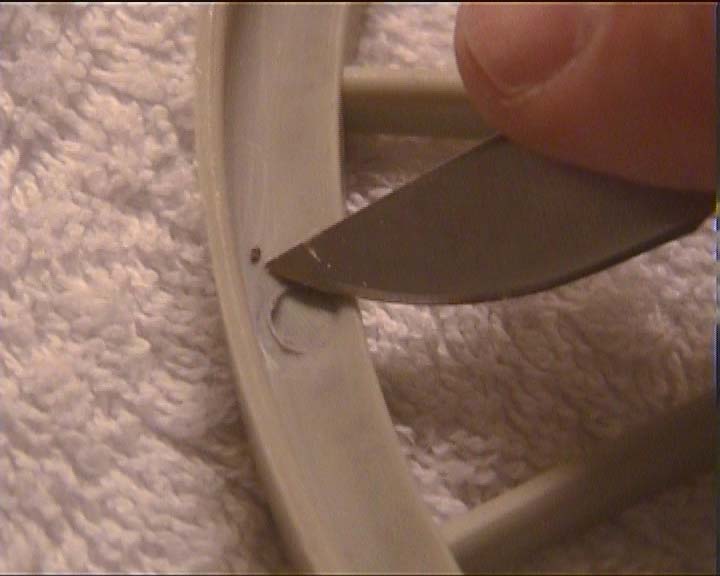
If the lid yields to light pressure by inserting a nail and pulling slightly the glue has starting to let go and the lid is starting to separate from the canister tube.
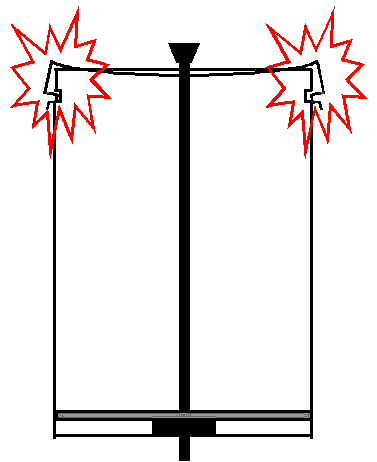
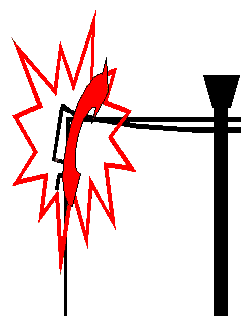
The above sketch is trying to describe that when you "over-tighten" the scrubber lid,
you will run the risk of "bending out" the edges of the top cover lips, thus causing the glue to crack loose.
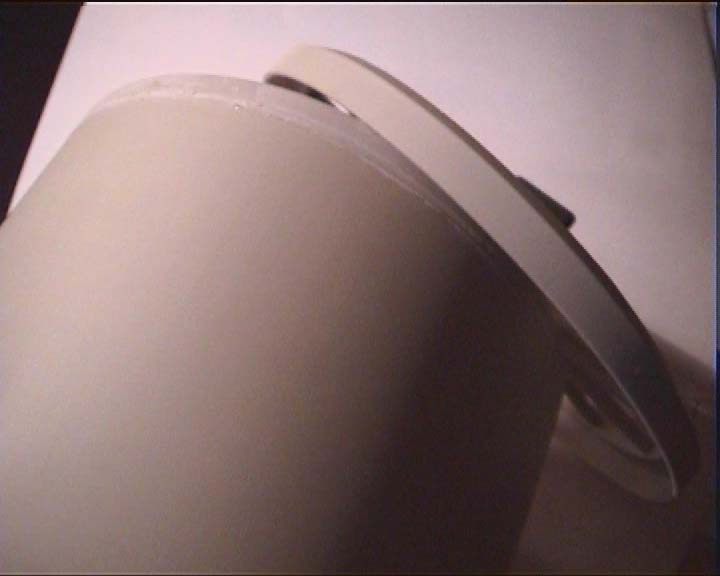
It is important to have the lid very well & air-tight glued, because otherwise "dirty"
(=uncleaned from CO2) gas can leak through the space between the outside walls of the scrubber-container and outside housing, through the crack back into the top of the container, and into the top of the scrubber containing the electronics, effectively bypassing the big O-ring there that is supposed to stop just that.
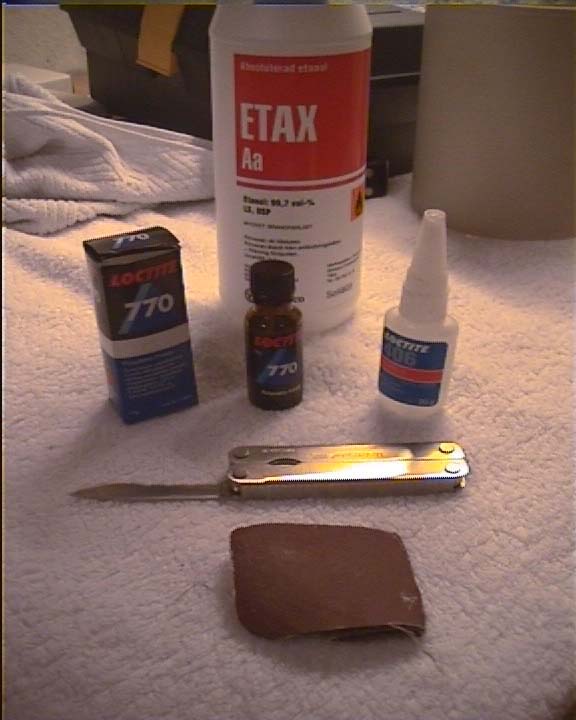
To fix a crack loose the surfaces are prepared with Loctite770 and then glued with Loctite406.
(Sorry about that but it has to be said.)
I found that disassembling the lid helped. Have a close look at the lid and check for glue residue. In my lid I found no residual glue at all, which indicates that the glue that was originally applied hadnt gripped the plastic in the lid or the lid had not been primed properly.
There were some residual plastic left from the moulding of the lid which can be removed with a knife.
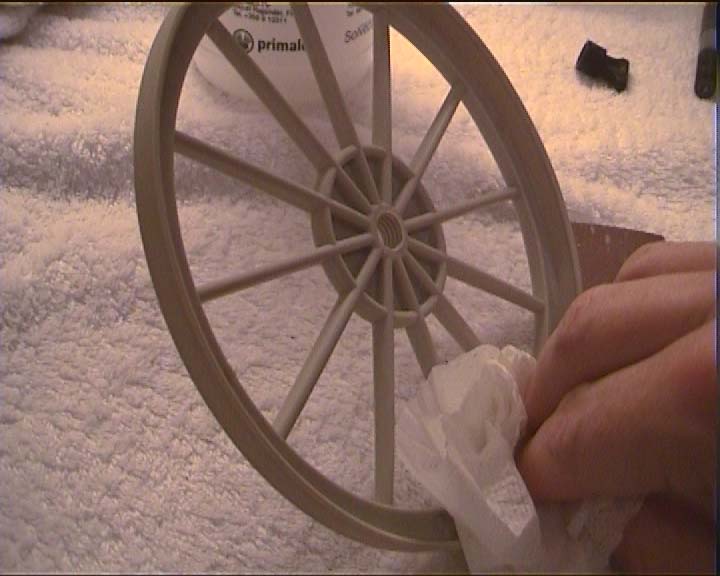
When thats done give the lid a light scrub with the sandpaper and a good cleaning
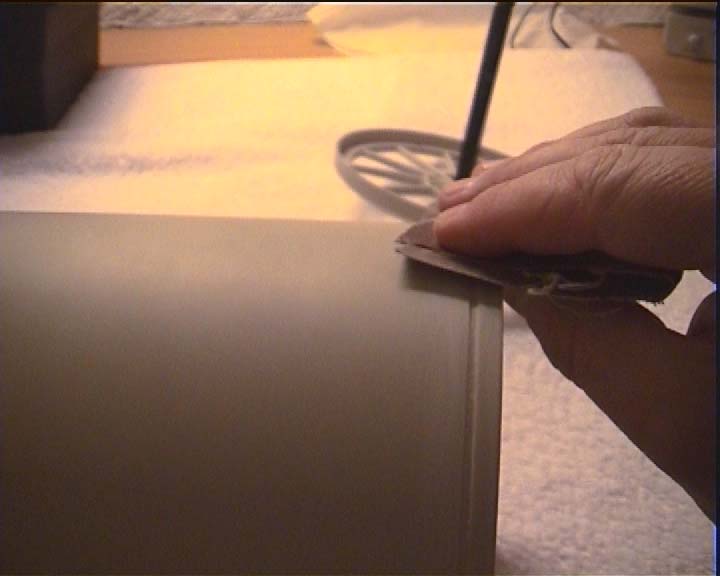
Lightly sandpaper the residual glue away. Remember that the idea is not to remove plastic material but to take away the extra glue. A nailfile that fits the grove can be used to remove glue out of the groove. Its important that the groove is not glogged by old glue, as then it will not give a good fit to the lid.
When you have a nice glue-free groove give the tube light sanding and a good cleaning.
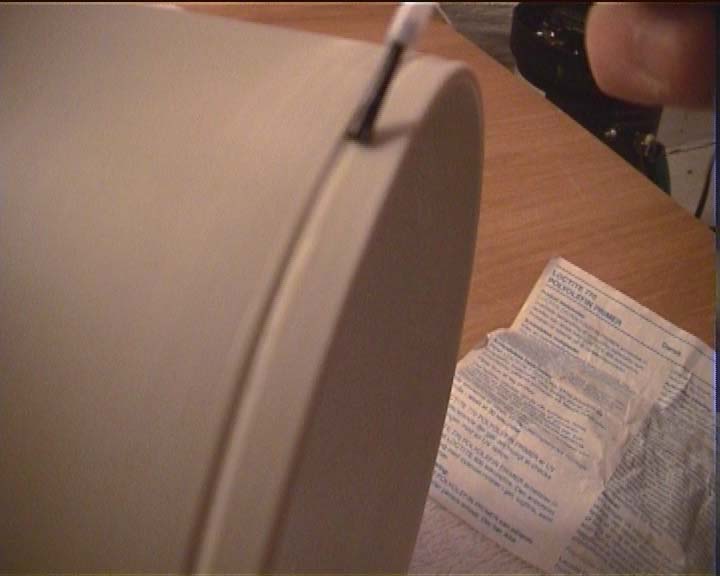
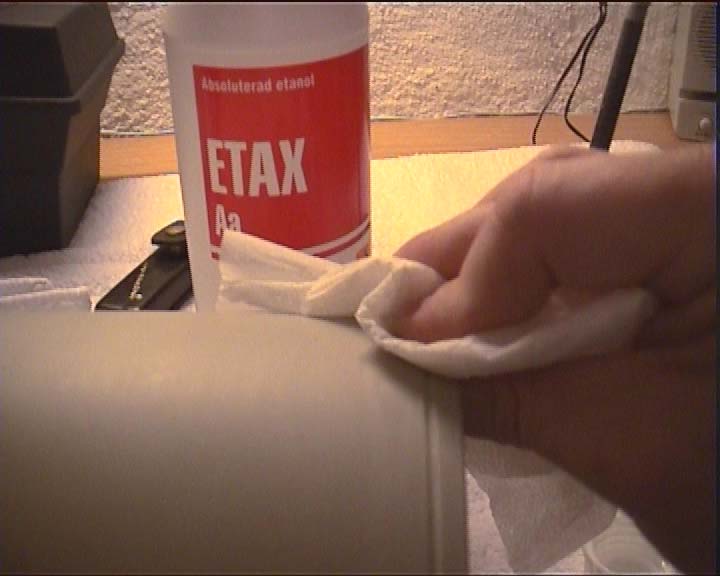
Please read the instruction for the primer and also use a mask if your area is not ventilated.
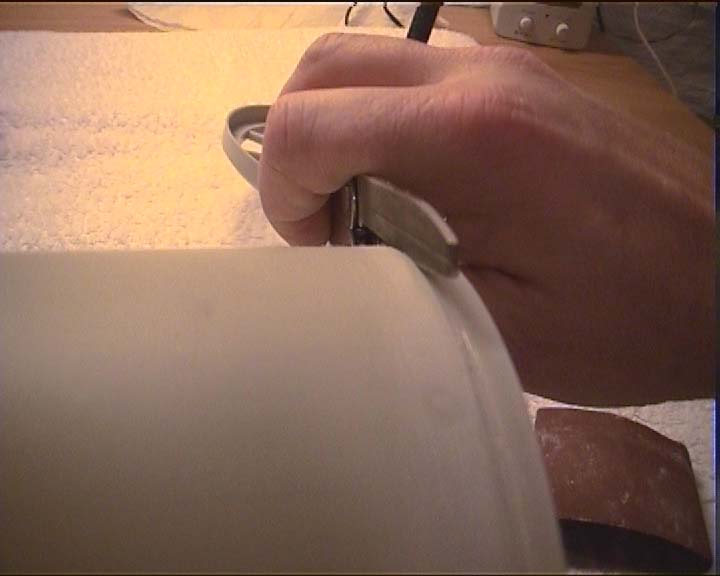
Apply the primer with the supplied brush to the tube and the lid.
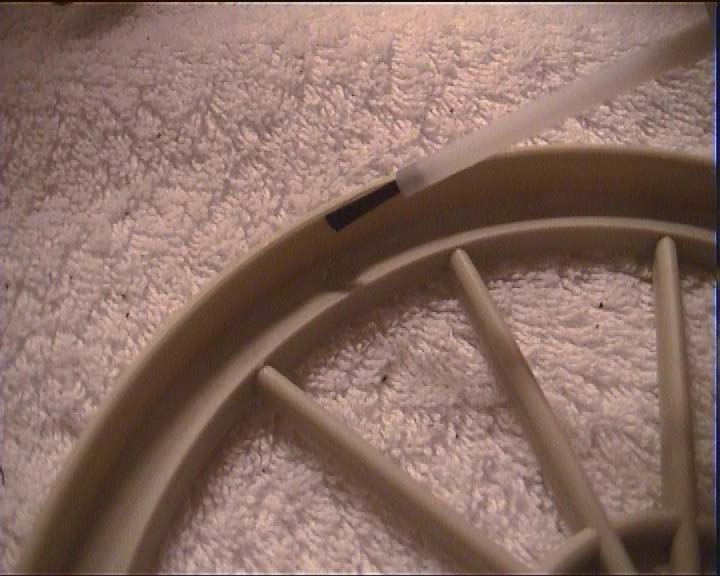
Apply glue to tyhe tube according to the supplied instructions and assemble the lid to the tube.
(this step has to happen fairly quickly so I didnt have time to take any photos)
Concentrate on getting glue into the groove of the tube. Applying is easier if you roll the tube along the side of a table with the groove sticking out past the edge.
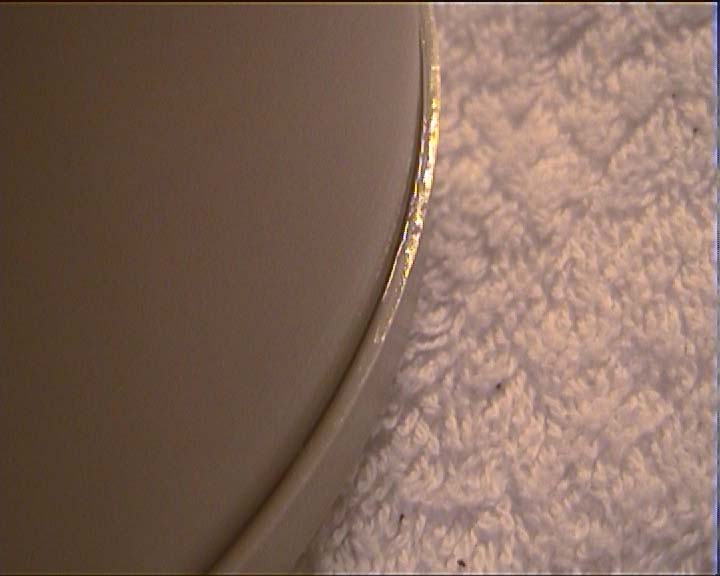
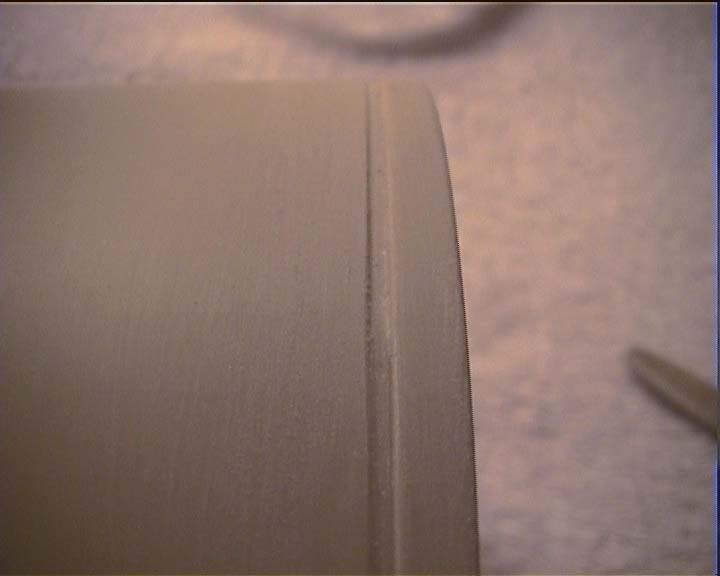
Let the glue dry, inspect the seal and stand back and admire a job well done!
The next step will be to seal the lip of the lid with a suitable sealant that is O2 and Loctite compatible. I'll update when I have found one.
Courtesy Esbjörn Nordesjö http://hem.passagen.se/evision/